A porch roof is not just an architectural feature, it’s a necessary component of any home’s structure. Properly connecting a porch roof to a house is essential for both safety and functionality. Without a secure attachment, a porch roof can pose risks ranging from structural instability to water damage. Whether you’re a skilled DIY enthusiast or a homeowner looking to improve your property, this guide has you covered. Let’s start transforming your porch into a safe, beautiful, and valuable asset for your home.
Recognizing Your Home’s Structure
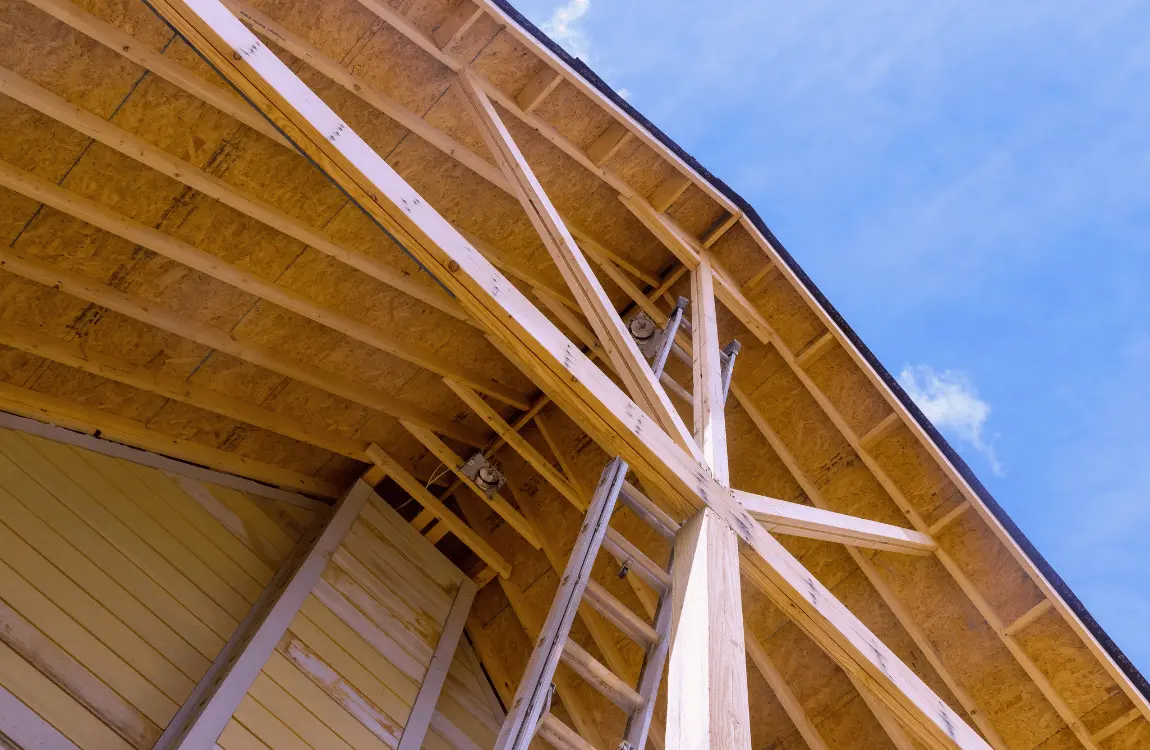
A porch roof is a vital extension of your home’s architecture, providing shelter and character to your outdoor living space. When it comes to connecting a porch roof to a house, the attachment points are important for stability and longevity. Common methods of attachment include ledger boards and support columns or posts.
Planning and Preparation
First and foremost, emphasize the significance of meticulous planning. This involves carefully considering factors such as the layout of your property, and the desired size and design of the porch roof. Taking the time to plan thoroughly can help prevent costly mistakes and ensure that the final result meets your expectations.
Additionally, discuss the importance of obtaining necessary permits and consulting local building codes. Building codes vary from region to region, and failure to comply with these regulations can result in fines.
Gathering Materials and Tools
Once the planning phase is complete, the next step is gathering the necessary materials and tools for the project.
Materials
- Lumber: Depending on the design and size of the porch roof, you’ll need various lengths and types of lumber for framing, decking, and trim.
- Fasteners: Choose appropriate screws, nails, bolts, or anchors for securing components together and attaching the porch roof to the house.
- Flashing: Essential for preventing water infiltration, flashing materials such as aluminum or vinyl are needed to seal joints and transitions.
- Roofing Materials: Select roofing materials suited to your climate and aesthetic preferences, such as shingles, metal panels, or tiles.
Tools
- Circular Saw: Necessary for cutting lumber to size accurately.
- Hammer: Used for driving nails and other fasteners.
- Level: Ensures that components are installed straight and level for structural integrity.
- Drill: Required for drilling pilot holes and driving screws or bolts into place.
- Safety Gear: Protect yourself with safety glasses, gloves, and appropriate footwear to prevent injuries during construction.
Step-by-Step Installation Process
- Prepare the Porch
Clear the porch area of any furniture, debris, and obstacles. Ensure the porch foundation and structure are sturdy and capable of supporting the additional weight of the roof.
- Attach Ledger Board
Install a ledger board along the exterior wall of the house, where the porch roof will attach. Use lag screws or bolts to secure the ledger board to the wall studs.
- Frame the Roof
Construct the roof frame using pressure-treated lumber or appropriate framing material. Cut and assemble the rafters, ensuring proper spacing and angle for drainage. Attach the rafters to the ledger board and support posts.
- Install Roof Decking
Lay down plywood or OSB (oriented strand board) as the roof decking material. Nail or screw the decking to the rafters.
- Add Roofing Underlayment
Apply roofing underlayments, such as felt paper or synthetic membrane, over the decking to provide a waterproof barrier and protect against leaks.
- Install Roofing Material
Install your chosen roofing material (shingles, metal panels, etc.) according to the manufacturer’s instructions. Start at the bottom edge and work your way up, overlapping each row to ensure proper water drainage.
- Flashings and Trim
Install flashing around the edges of the roof to prevent water infiltration. Add trim boards or molding to the edges of the roof for a finished look.
Following these steps will help you successfully install a porch roof. However, if you’re not experienced with construction projects, it’s always a good idea to consult with a professional contractor for guidance and assistance. In Long Island NY, Long Island Roof Repair Pros provides quality services. With a team of experienced professionals, we were able to build trust among our clients.
Conclusion
In conclusion, connecting a porch roof to a house is a rewarding project in creating a functional and aesthetically pleasing outdoor space. By following the proper techniques and guidelines outlined in this blog post, you can ensure a secure and weather-resistant connection that enhances the overall structure of your home. Consult with the professional of Long Island Roof Repair Pros to ensure your porch roof connection meets safety standards and complements the architectural integrity of your property.
Frequently Asked Questions
Do I need a permit to attach a porch roof to my house?
Permit requirements vary depending on your location and the scope of the project. It’s advisable to check with your local building department to determine if a permit is required for your specific situation.
How do I maintain a porch roof attachment over time?
Tasks such as cleaning gutters, inspecting for signs of wear or damage, and addressing any issues promptly can help prevent costly repairs and extend the lifespan of the structure.


0 Comments